Step 1: Using a Chrome browser log into Blackboard and navigate to your course. Note: Chrome is the best browser, IE, Edge, Firefox, etc. may cause connectivity issues.
Step 2: Click on your Collaborate Menu link that you created. Click on the session you wish to facilitate.
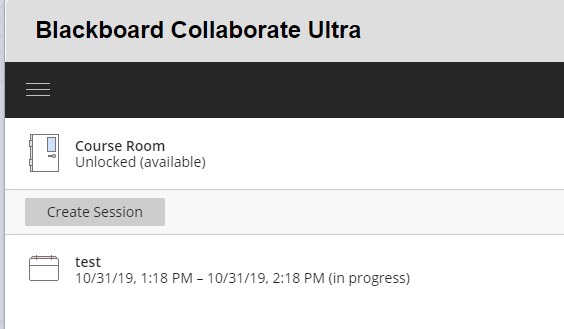
Step 3: Click on Join Session.

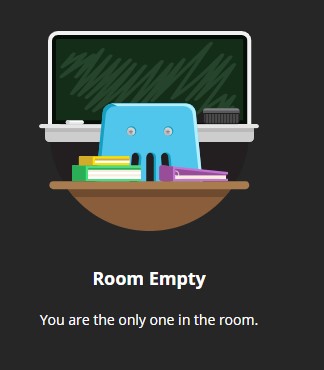
This will place you in the session as the moderator. Your room will likely be empty as you will generally be the first joining.
Step 4: You will want to load any files and/or open any windows (youtube, word, and other websites or applications) so your content is prepared.
Click on the Collaborate Panel (purple chevron) in the lower-left corner to open the menu.

This will open session tools that you will use during the session.
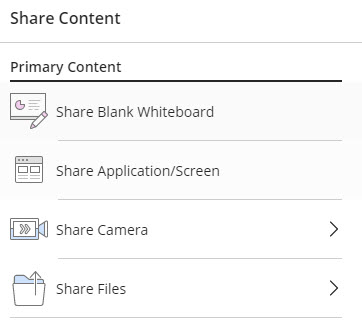
Step 5: Click on the Share Content Icon to display the share content options.

Share Application/Screen:
You will be asked if you want to Share your Entire Screen or Just an Application. If you share your Entire Screen students will be able to see everything that you have open and your tabs, etc. They cannot take control of your desktop, they can only view it. You will need to select the screen that you wish to share before the share button is enabled.
Remember to select share audio of you are using embedded videos or YouTube.
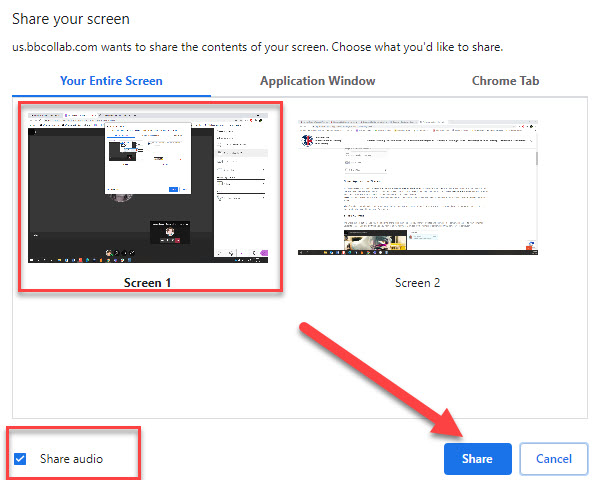
NOTE: When you share your entire screen the image will display as an accordion of screens. This is normal until you select a different tab.
If you select Just an Application, you will be asked which application you want to share. Choose the application you want to share.
NOTE: You must already have the application open before you can share it. We recommend opening the applications you want to share BEFORE the session starts.
Tip: If you have Youtube video content in PowerPoint, you may consider using the Share Screen so you can navigate between your PowerPoint and Youtube windows for the most effective play of the video.
Share Camera
The Share camera option gives you the ability to share more than one camera. Share your video and share another camera connected to your computer. Students can see you and anything else you want to show. You’re only limited by the number of cameras and USB ports in your computer.
Share Files:
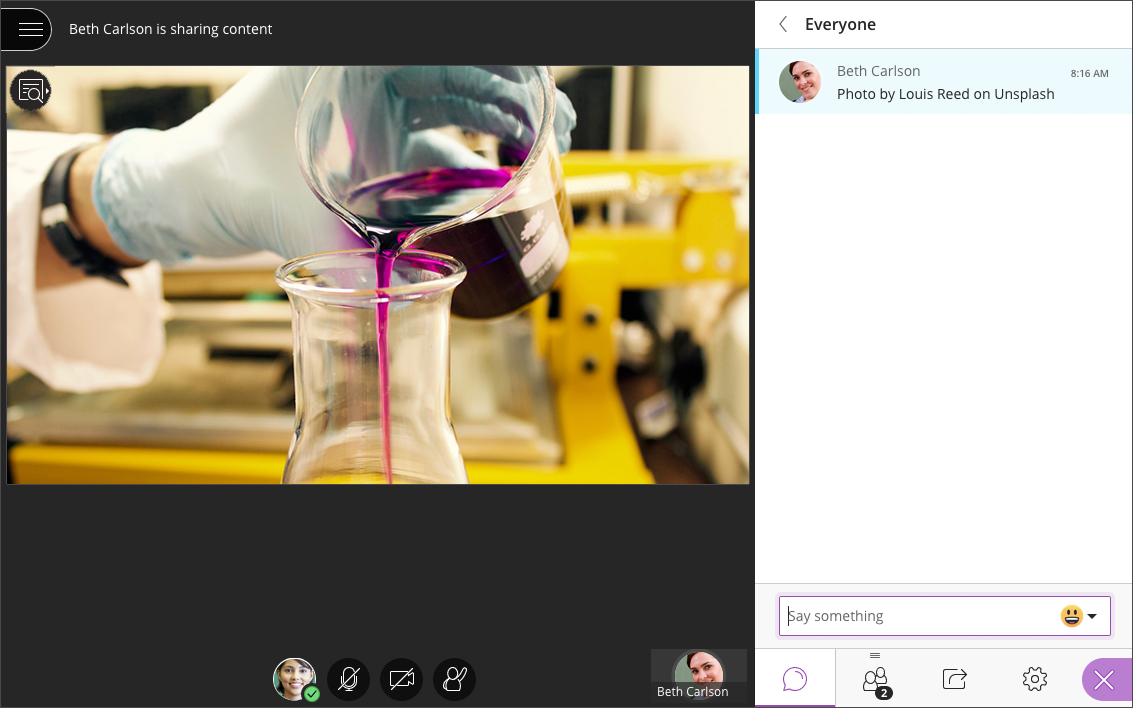
You can upload GIF, JPEG and PNG images, PDF files, or PowerPoint presentations of 60MB or lower to your session. You can upload multiple presentations, however, the total size allowed is 125 MB or lower for any particular session. Files can also be loaded prior to the session starting, the files will remain in the session until they are deleted by the moderator.
Once you select share files, you can drag and drop the corresponding files into the area. You can also click on the area to open and select files from your computer.
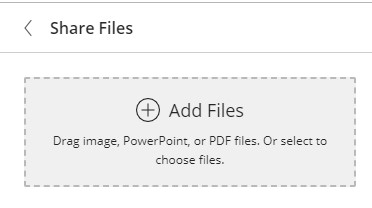
The files will load below, when are you are ready to share, you click on the appropriate file and then select share now. To stop sharing you can select the stop sharing icon.
For more information on Sharing Files please view the video below.
You are ready to facilitate the session.
Step 6: Using the audio and visual controls at the bottom of the screen:
Unmute your microphone so participants can hear you (when you join the session the microphone is automatically muted) You will see a green microphone when you have successfully unmuted. The same applies for students/participants of the session regarding muted audio.
Enable your video so participants can see you (when you join the session the camera is automatically disabled). Click on the video camera icon to enable. The same applies for students/participants regarding disabled video.
Important Note: Your audio/video will be enabled until you disable it, so essentially your audio and camera is on. If you take a break or assign an activity it is a good idea to turn your audio/video off/disable until break is over and re-enable when you resume the synchronous session, so your break actions are private.

Facilitation Tips:
Video: If video is not required for the session, we recommend video is not enabled by the moderator/faculty and students/participants as it takes of bandwidth and may affect performance.
Audio: Advise students/participants to mute their audio when they are not speaking during the session. If they have a question they can use the “raise hand” feature beside the video icon.
Step 7: click on the Collaborate panel (purple chevron) in the lower right-hand corner of your screen.

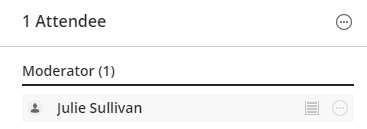
Click on the participant icon to identify who has joined your session.
![]()
In this example, you are the only one in the room. As participants join the session this number will increase and their name will appear above in the attendee list.
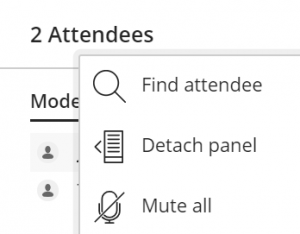
If you have asked students/participants to mute their microphones but are still hearing background noise and it is disrupting to the session, the moderator/faculty can automatically mute all microphones. To do this:
Click on the three dots to the right of the attendees at the top of the Participant icon in Session Tools.
![]()
Click on Mute all.
Step 8: If you plan to record the session, advise the participants.
To begin the recording, click on the menu icon in the top left of your screen to open the menu.
![]()
Click on Start Recording.

The recording icon will appear beside your menu icon.
![]()
Step 9: Moderator/presenter will now share files, share your screen/application, or bring up a whiteboard.

Step 10. Open and monitor the chat window by selecting the chat icon (chat bubble).
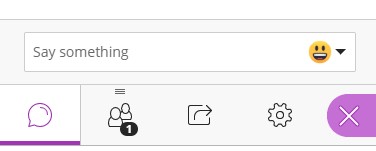
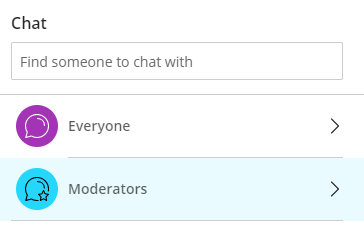
You can enter a chat to welcome participants by typing in the Say something text box. Here is where you will monitor the chat during the session. You will see options at the top of the page to chat with specific attendees, (find someone to chat with) every one or moderators.
Monitor raised hands. You can identify any students wishing to communicate by monitoring the chat window and watching for a student who raises their hand. Raised hands will turn the icon pink and add a number indicating a raised hand. Address the question and then click on the icon to lower the hand and continue the session.

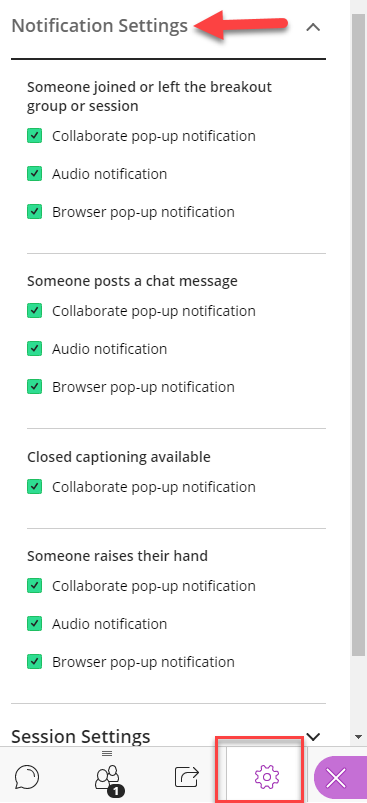
Note: If you are sharing your screen you can edit the notifications so that you will still see when someone adds to the chat or raises their hand. You can add visual and audio notifications. This allows you to minimize the session details and still monitor the session.
Select session settings and then edit the notification settings.
Step 11. Remember to stop recording at the end of the session. Click on the menu icon and then Stop Recording.
![]()
![]()
Depending on the length of your session, it will take a little time to process the recording.
If you want instructions on how to view/share the recording, see the tip sheet – Viewing Your Bb Collaborate Recording.
Step 12. At the bottom of the menu icon you will see the option to Leave Session.


